Introduction
Are you experiencing bubbles in your wallpaper? Are bubbles spoiling the beauty of your wallpaper? If so, why not fix it? Wallpaper bubbles or bumps are fixed with a simple five-minute process.
Fixing bubbles in wallpaper prevents your wallpaper from further damage, such as tears or rips.
Wallpaper bubble happens when your glue or paste does not smooth out when the paper is hung or when a weak bond between the wallpaper and the wall leads to the wallpaper lifting.
Another cause for wallpaper bubbles can be poor quality of adhesion, if the paste is not properly activated, the wall is not properly prepared, and the paper won’t stick well. This can also cause bubbles and leave peeling and wrinkling. No matter what leads to wallpaper bubbles, it is difficult to repair.
How To Eliminate Wallpaper Bubbles
1. Search Your wallpaper bubbles
To remove wallpaper bubbles, first, you need to find out where it is located. So doing this, you start looking from the top to bottom of the wallpaper. See closely at the surface of the wallpaper, and move your hand along it to feel for any raised areas. Typically spherical or oval in shape, bubbles feel firm to the touch.
2. Use a knife to cut the opening in the wallpaper bubbles
Once you find where the bubbles are, cut the opening in the wallpaper using a knife. Insert the point of the knife through the wallpaper and onto (not through) the wall beneath. Then, use the knife to cut along the edge of the bubble. When you do this, leave the air pressure and allow you to smooth out the bubble. Be careful while doing this, and do not push the knife so deeply into the cut and damage the drywall beneath.
3. Use a syringe with wallpaper paste/adhesive
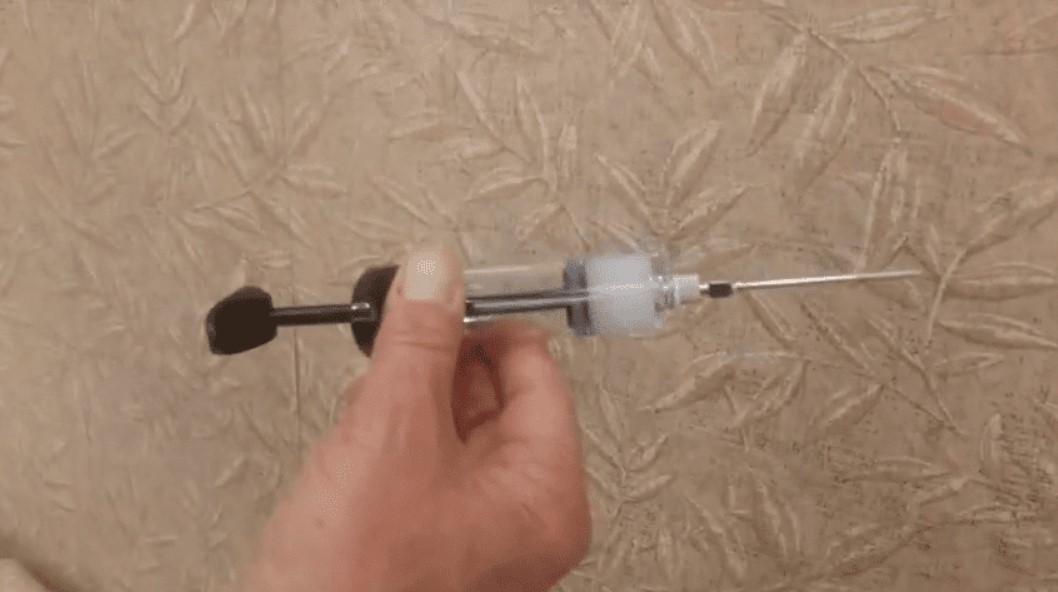
The next step is to fill a syringe with wallpaper paste or adhesive. There are two types of paste or glue used in sticking wallpaper – prepasted and self-adhesive. Prepasted adhesive is used in the back of the wallpaper and self-adhesive is used for the wall.
For this work, a self-adhesive paste is recommended to reduce the risk of bubbles reappearing.
4. Penetrate the syringe into the wallpaper bubble and apply adhesive
Penetrate a syringe into the wallpaper bubble and use an adhesive repair solution to the bubble. Fill the syringe with the paste, then penetrate the needle tip into the center of the bubble. To inject the adhesive into the bubble, gradually squeeze the trigger.
5. Take a smooth tool to flatten the wallpaper bubble
When the paste dries, take a smooth tool to flatten the wallpaper bubble. You can use a putty knife or plastic scraper that can act well for this purpose. Gently take down on the center of the bubble and push outwards until the bubbles are gone, and the surface is smooth.
You may be required to push a little more to remove the bubbles. If necessary, you can use a hairdryer to heat the area and make the bubbles easier to get rid of.
6. Remove the access wallpaper adhesive
Once bubbles have been removed, wipe away the excess glue with a damp cloth.
Once the area gets clean, allow it to dry completely before touching or painting over it.
Conclusion
You don’t need to replace the entire sheet of wallpaper to patch a bubble in the wallpaper; all you need is a little attention and patience. These easy techniques can help you quickly get rid of those bothersome bubbles and give a smooth and perfect wallpaper decor!


